


Pre-requisites
Background knowledge of:
- JavaScript
- React Setup
- React Components
- JSX
Introduction
React applications thrive on components (which I like to think of as “little pieces of code for little pieces of content”); It follows the trend of splitting your application into different functional units (components). This is often very beneficial but it consequently poses a challenge when it comes to passing data across the various units (components). React being an amazing framework, provides us with Props (short for properties), a seamlessly easy-to-use solution to this problem. Today we’ll take a look at React Props, what they are, what they do and how to use them to boost our code.
Goals
At the end of this article, you should know:
- What React Props are
- How to use Props to share data between react components
- How to set default Props
Outline
- What are Props
- Working with Props
- App Outline
- Creating Props
- Props Object
- Accessing Data from Props
- Props Children
- Setting Default Props
- Bonus: Props Vs State
- Key Notes
- Closing Remarks
What are Props
React Props are a system that allows for unidirectional passage of data in React from parent components to child components. That's our definition. Now let's go for an explanation; I want you to imagine a train moving from city A to city B carrying coal. Done? Alright let's pause our imagination right there and get back to "react-lity". Here, City A and B are both React components, A being our parent component and B, our child component. The train is our prop and the coal is our data. Just like our train, our props are responsible for movement of data from the parent component to the child component; this movement is in one direction, from parent to child component only. Props will NOT pass data directly from children to parent components.
Working with Props
Now that we hopefully understand what props are, let's go straight to working with them.
App Outline
Wait! Before we dive right in, let's take a look at the simple application we will build. The application gives a student 'David' a random rank in his class. I know it looks and sounds plain and boring and silly, probably does not even qualify as an application, more like the most basic coding exercise ever😅; but trust me, it'll teach you all you need to know about props. As always, I'll encourage you to code along; however if you do not want to, that's fine too. The exercise is simple enough for you to get the gist by just reading, so yeah keep reading.
For this exercise, we will follow these steps:
- Setup react
- Create 2 components.
App(Parent Component)Display(Child component)
Appwill hold the logic for generating a random rankDisplaywill show David's rank in the class
*For convenience, I will be working with functional components and with both my components in a single JavaScript file. (However, the same rules applies to class components and components in separate files)
Starter Code:
//Display component
function Display(){
return (
  <div>
   <h1>Result</h1>
  </div>
)}

//App component
function App(){
//get a random rank for 'David' between 1 and 25
const random=function(){return Math.floor(Math.random()*25)+1}
const rank=random()
return (
  <div>
   <Display/>
  </div>
)}
Creating Props
Alright now all that's out of the way, let's finally dive in. We start from the end, step 4 (because steps 1,2 & 3 have been taken care of by me. You're welcome😌) For the Display component to show the rank, which is defined in our App component, we need to pass the rank variable from our App (parent) component to the Display (child) component. And how do we do that? You guessed it, we use props. Alright, let's do just that:
function App(){
const random=function(){return Math.floor(Math.random()*25)+1}
const rank=random()
return (
  <div>
{/* create a prop and pass to a child component */}
   <Display position={rank}/>
  </div>
)}
There, it is that simple!
The amazing thing is that, not only have we created a prop, we have also automatically passed it from the App component to the Display component. Using Props we can pass any JavaScript datatype across components
Now, let's review the syntax we used to create and pass our props. Does it look familiar? It should, because it is the same syntax used for passing attributes to HTML tags. The only difference here is that we have the freedom to assign to our props whatever name we like. In our exercise, we used position as our prop name.
Freedom to name our props may sound like fun, but sometimes coming up with meaningful names for our props can be quite the headache. A lot of times you would notice the prop name being the same as that of the variable being passed to it, that's a common naming convention for props. Feel free to use it.
A friendly reminder here -the variable being passed as a prop is wrapped in {} because that's how JavaScript variables can be included in JSX. The only exception would be strings in which case you would use "".
The Props Object
Now that we have passed our data to our Display component via a prop, the next question is probably where is it ? Where did our data go and how do we retrieve it?
Let's start with the 'where'. Each functional component in React has its first argument automatically assigned to it called props. I like to call it the Props Object (I will this name for the rest of the article for clarity's sake). Yes. It's an actual JavaScript object.
In class components, the Props Object is found in the constructor function, also as the first argument. Why is this important? It's important because any data sent as a prop will be stored in the Props Object of the child component that the prop was sent to. Now let's take a look at the Props Object.
//The Props Object is the first argument in a functional component
function Display(Props){
//Show Props Object on console
console.log(Props) //{position: 8}
return (
  <div>
   <h1>Result</h1>
  </div>
)}
Notice how the first key in our Props Object says position? That's because that right there is our lost prop. In our Props Object, the key is always going to be our initially assigned prop name and the value will be the data being passed across (in our case whatever random number the variable rank evaluates to). Note that the Prop Object is read only. We can only read values passed in from a parent component, we cannot mutate the values of a prop within its own component. That means the Display component cannot change the values found in its own Props Object.
Accessing Data from Props
Now that we've found our prop, let's extract it from the Prop object.
function Display(Props){
return (
<div>
<h1>Result</h1>
{/* access prop from prop Object */}
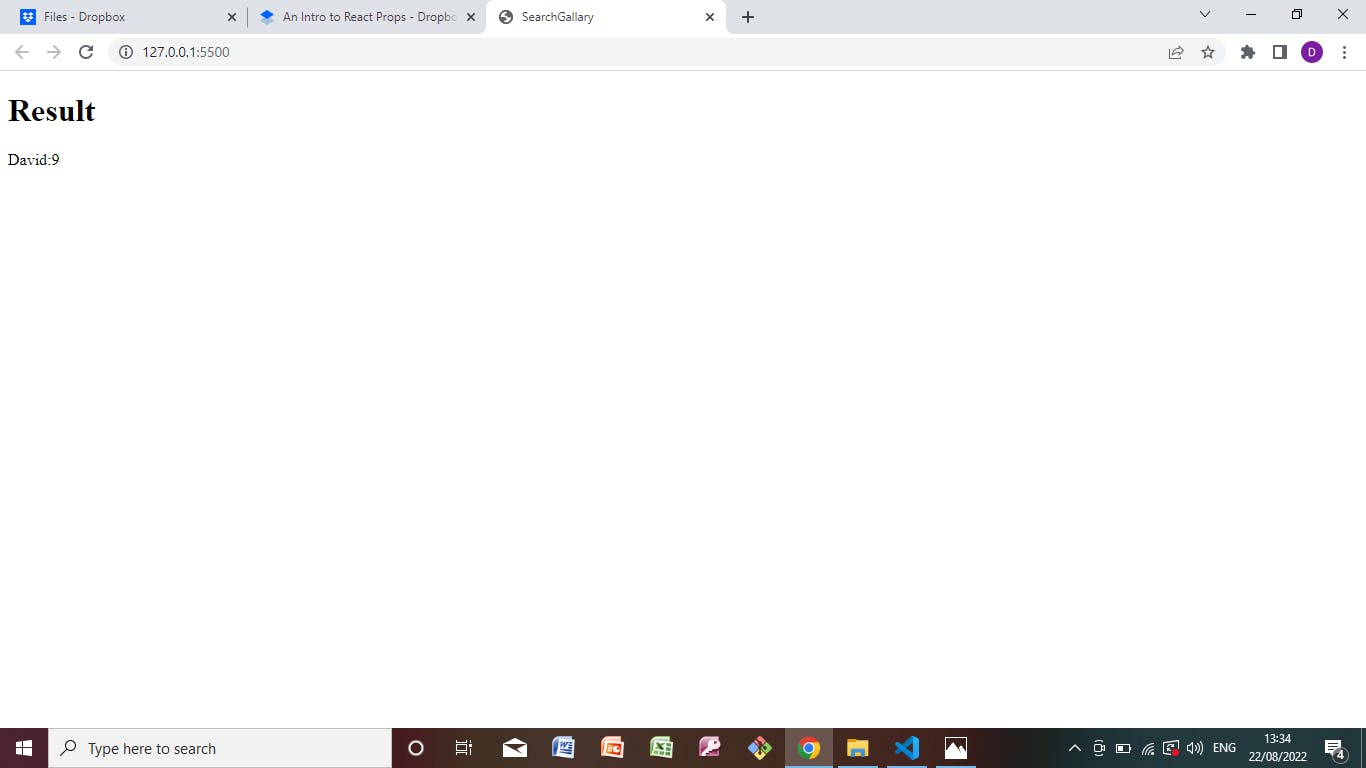
<p>David:{Props.position}</p>
</div>)
}
And we are done. Accessing our prop value (data) from the Props Object is the same as accessing any value from any other object; we use the dot notation. We can now use the data we passed down anywhere in our display component.
Since the prop object is indeed an object, we can also use ES6 destructuring to access our data right within the function argument and reference it directly with the prop name in our component, like this:
function Display({position}){
return (
  <div>
   <h1>Result</h1>
{/* access prop from prop Object */}
   <p>David:{position}</p>
  </div>
)}
Props.children
For this section, let's make slight adjustments to both components.
function App(){
const random=function(){return Math.floor(Math.random()*25)+1}
const rank=random()
return (
  <div>
   <Display position={rank}>
    An intro to Props children
{/*will not render to the DOM*/}
   </Display>
  </div>)
}

function Display(Props){
//Show Props Object and Props  Children
console.log(Props,Props.children)
//{position: undefined, children: 'An intro to Props children'}
return (
   <div>
    <h1>Result</h1>
    <p>David:{Props.position}</p>
   </div>)
}
When we take a peak into the Props Object this time, there was another key named children and its value is kind of familiar. Why is that? Well, a look at our App component will confirm that the value was exactly the same as the text in between our Display JSX tags(<Display>... </Display>). Basically, anything within a component’s JSX tags is found in the Props Object under the key -Props.children . Whatever is in between those tags will not be rendered but provides yet another way to pass data to a child component. The value stored under Props.children can easily be accessed within the child component in the same way we access any other props. Using this technique is not very common however it's quite handy in some scenarios but let's save that topic for another day and stick to the more important concepts for now.
Setting Default Props
React components are all about reusability. With that in mind, there is every probability that we may need to reuse our components (in this case our Display component) either in some other part of this same project or in another project. However, it's kind of difficult to do that once you have it dependent on the parent App component for data(Props). What happens when we want to reuse our Display component in another parent component that passes no props or if we want to use it on its own? I'll tell you what will happen, we will get a lovely red error message. To solve this problem React brings us Default Props. It's exactly like the name implies. It gives a default value to our props. To set them up in our prop-dependent component, we do this:
function Display(Props){
return (
   <div>
    <h1>Result</h1>
    <p>David : {Props.position}</p>
   </div>)
}
Display.defaultProps={position:'1'}
This block of code implies that whenever no props are passed into our Display component, it will be set to have the defined default value, which in our case is 1. Which is good for "David" because that means he comes first automatically.
Also note that our defaultProps is an object.
Props Vs State
If you just started learning React, you'd soon be hearing of state. For some reason a lot of beginners get these two concepts mixed up (full disclosure it happened to me too);
Here are two little tips to help you out with that:
Props transfer data.
State stores dynamic data.
If it moves data from one component to another, it's a props.
If it holds a data value that is likely to change after the application is loaded, it's state.
It's okay if you don't understand this now. Just come back and take a look at it after you've learnt about state. You'd be glad you did😊.
Key Notes
•Props allow us to pass data between React components. •Props can only be sent from a parent component to a child component. •Props are created just like HTML attributes. •The Props Object is the first argument automatically passed to a functional component. •The Props Object is found in the constructor of a class component and also as the first automatically passed argument. •Props are read-only within their component. •Props are named arbitrarily. •Props allow us to pass any JavaScript data type. •The Prop Object will store all props passed to our components as key-value pairs. •Props cannot be passed from child to parent component. (Always remember this)
Closing Remarks
If you got to this point you definitely know enough about props to start using them in your react projects (not that you can avoid them in react). So go ahead and do just that. Do drop a comment if this was helpful. Drop one if it wasn't. Drop one if you think I missed anything. I think you get the point, just drop one. 😊😊